Dashboard Apps
On this page
Note
This is a Preview feature.
SingleStore Dashboard Apps enables users to create, publish, and manage real-time interactive dashboards through the Cloud Portal.
You can create and manage dashboard apps using the Cloud Portal.
Publish Dashboard Apps using the Cloud Portal
Create a Dashboard App
Dashboard Apps can be created for shared notebooks only.
-
Using Apps in the left navigation

-
Using Shared Notebooks
-
Navigate to Data Studio > Shared.
-
Select a shared notebook.
-
Select Publish (on the top right).

-
New Dashboard App
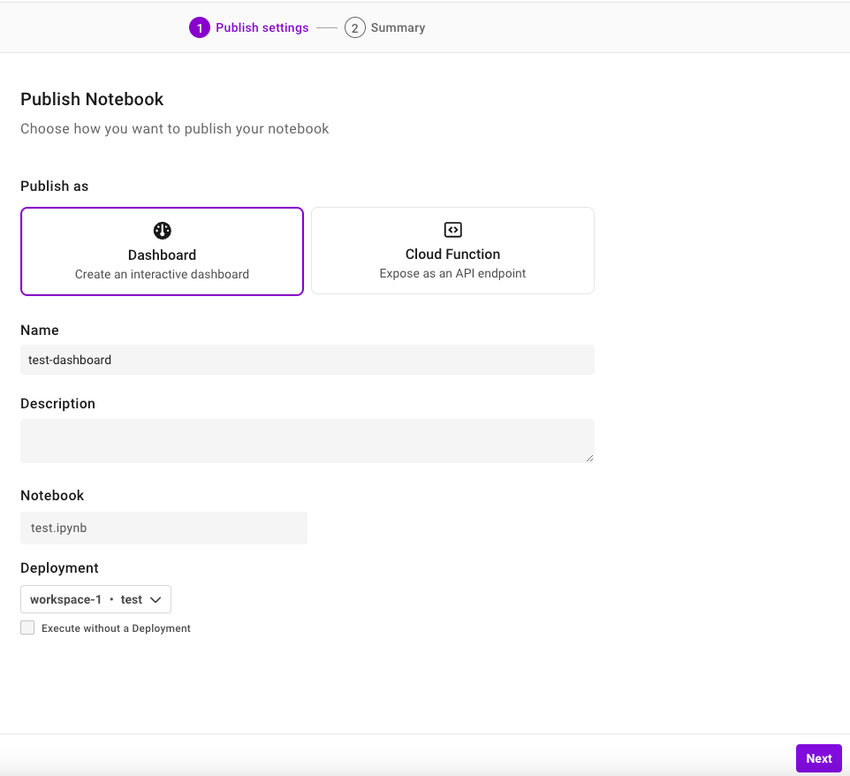
After selecting Publish, a new dialog box appears.
|
Publish Settings |
|
|---|---|
|
Publish as |
Select Dashboard. |
|
Name |
Enter a name of the dashboard app. |
|
Description |
Enter the dashboard app description. |
|
Notebook |
Select a shared notebook to publish as a dashboard app. |
|
Deployment |
Select the SingleStore deployment (workspace) your notebook will connect to. Selecting a workspace allows you to connect to your SingleStore databases referenced in the Notebook natively. |
Select Next.
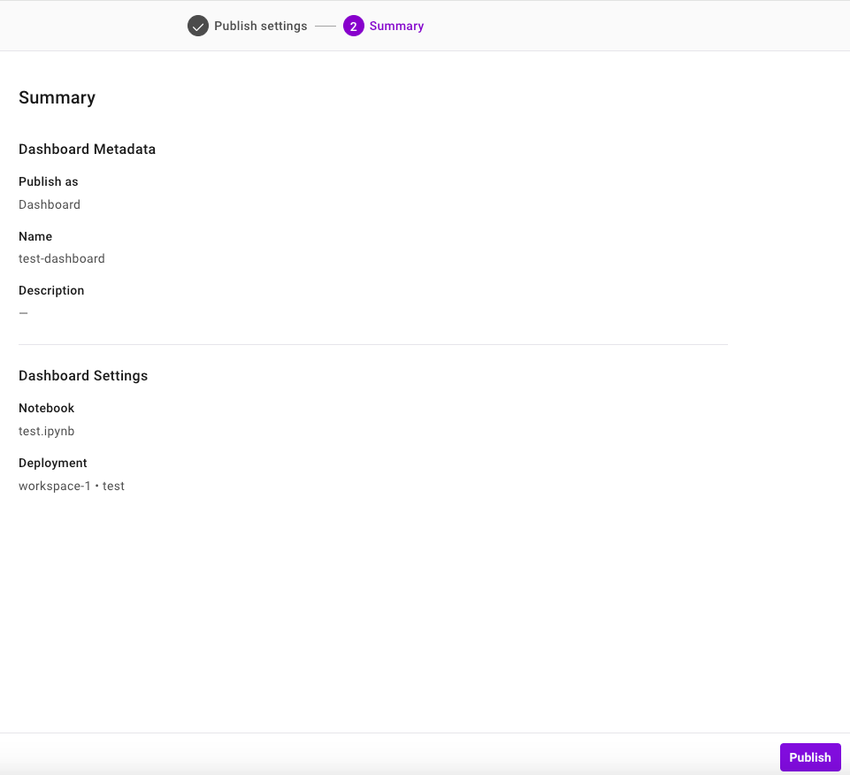
Select Publish to publish your notebook as a dashboard app.
Manage an Existing Dashboard App
To view an existing dashboard app, select Apps in the left navigation.
View a Dashboard App
To view a dashboard app, select the dashboard app name under the Name column.
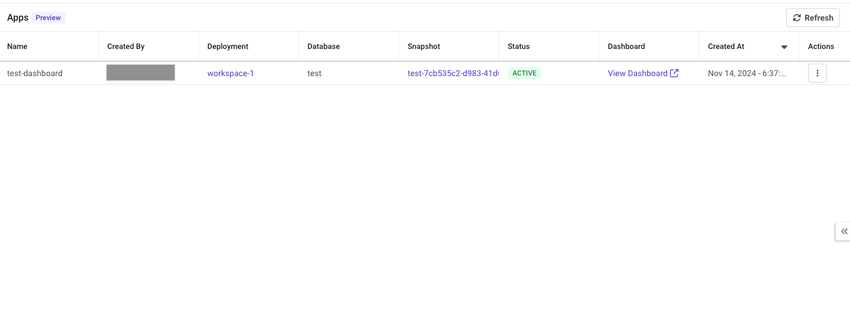
You can view the following details for each dashboard app:
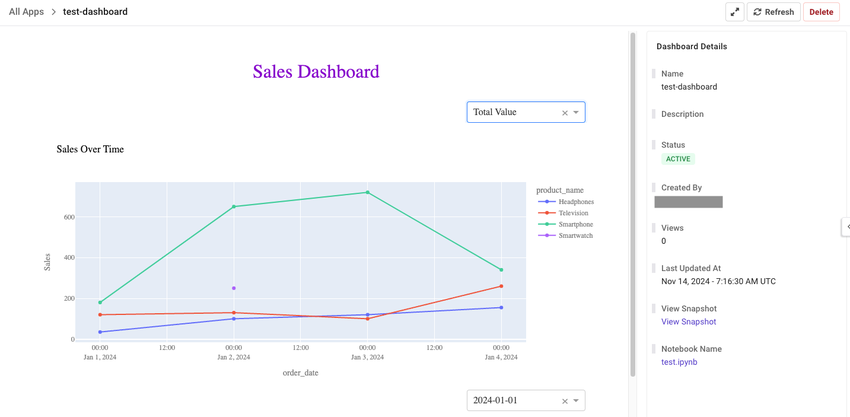
You can view the details of a dashboard app on the right navigation.
Update a Dashboard App
To update an existing dashboard app, select the ellipsis in the Actions column of the dashboard app, and select Update.
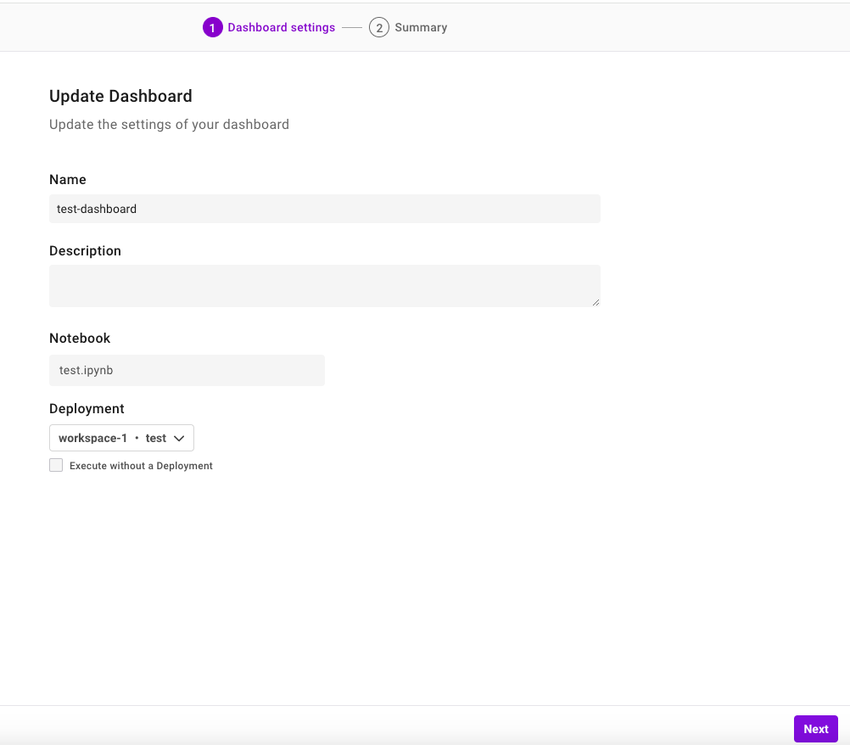
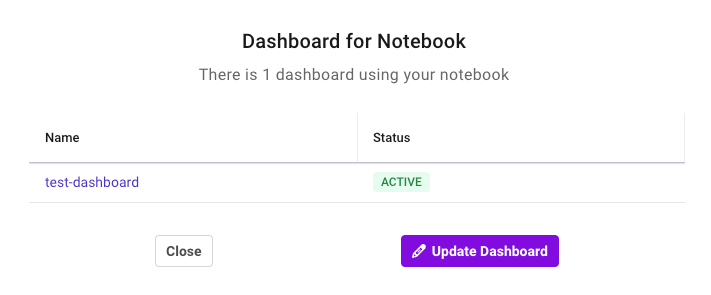
You can also update the dashboard app using your shared notebook.

Select Update Dashboard.
Delete a Dashboard App
To delete an existing dashboard app, select the ellipsis in the Actions column of the dashboard app, and select Delete.
Status of Dashboard Apps
|
Status |
Description |
|---|---|
|
Initializing |
The notebook is creating or updating the dashboard. |
|
Active |
The dashboard is configured correctly. |
|
Failed |
The dashboard is not configured correctly. |
|
Error |
An error unrelated to the notebook code prevented the dashboard from initializing. |
Troubleshoot Dashboard Apps
SingleStore automatically saves a snapshot of the notebook for each execution that fails.
|
Error |
Solution |
|---|---|
|
Workspace Deleted |
Update the dashboard and select a deployment. |
|
Workspace Suspended |
Resume the workspace or create a new dashboard with a different deployment. |
|
Database Detached |
Reattach the database with the right permissions or create a new dashboard with a different database. |
|
Notebook Deleted/Not Present |
Create a new dashboard with a different notebook. |
|
Internal Errors/Misc |
Reach out to SingleStore Support or use the chat feature in the Cloud Portal. |
Last modified: December 5, 2024

